
I’ve had one going for a while but today, it’s cleanup day.
Some background…
Home Assistant got me into DevOps.
Don’t get me wrong, I was interested, but the more I read about Home Assistant and tinkered with it, the more When SysAdmins Ruled the Earth made sense1.
So I went all in with my first rack, an Aeons 9U rack from Amazon…
 My friend had never done something like this, and while he’s handy, I am a better DIY’er for sure
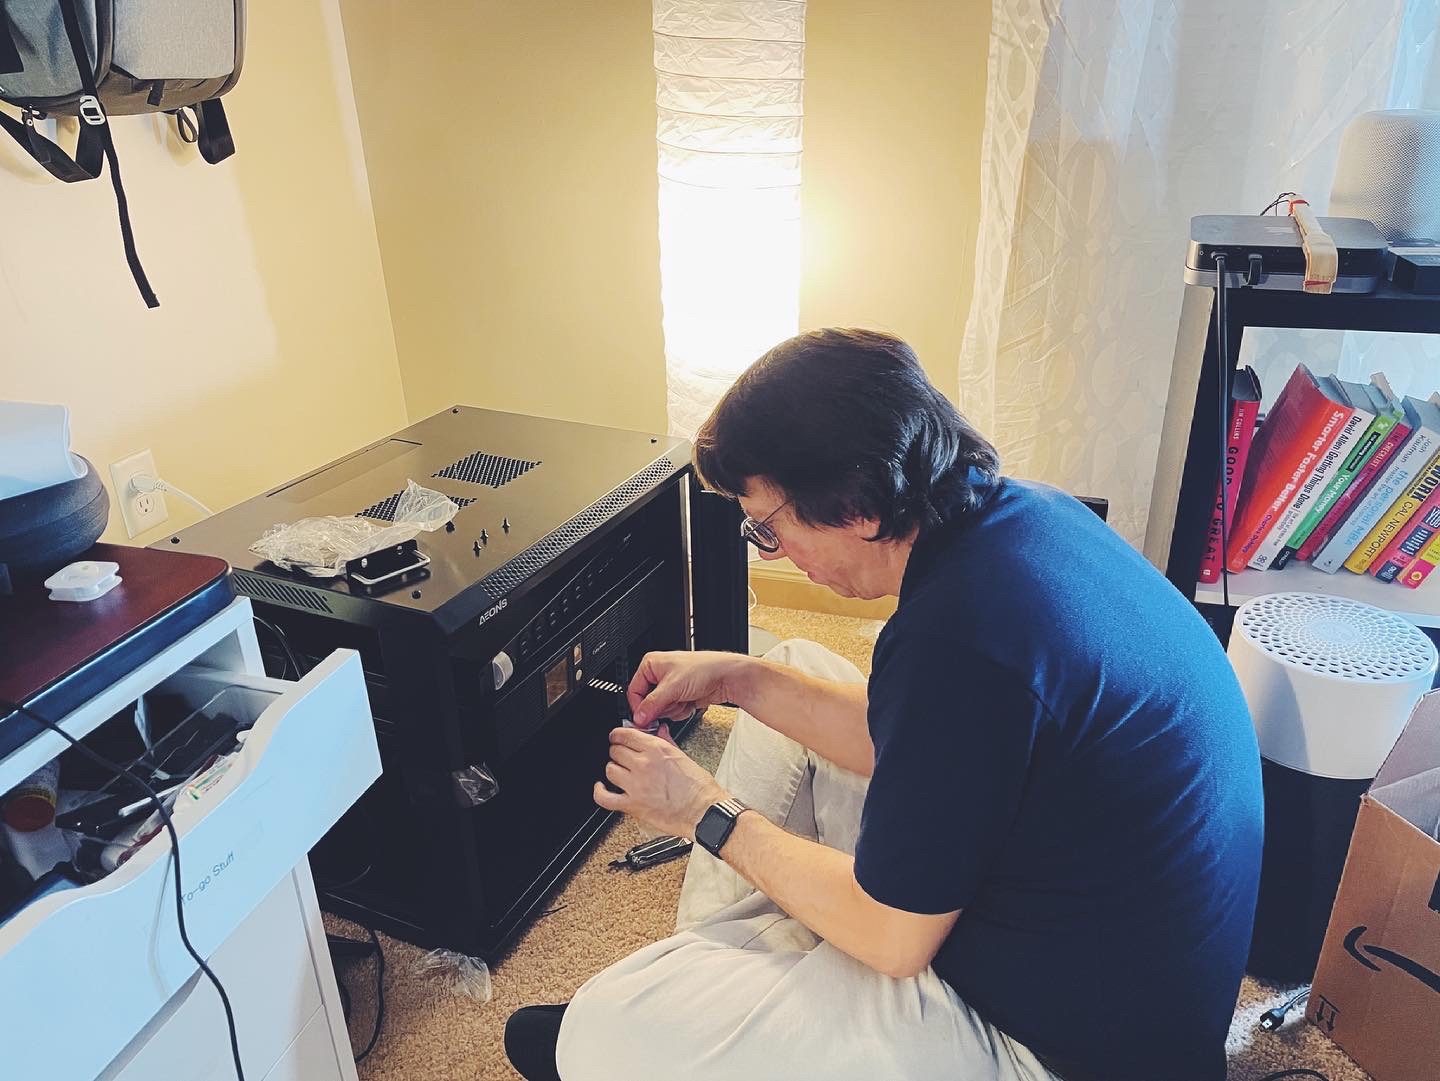 R putting the finishing touches on the rack
 The finished rack
The cable management inside the cabinet is… rough. But it was my first cabinet.
This was at my old old place, a 2br apartment in the suburbs where I live.
Open or closed cabinet? Who knows…
I wasn’t happy with the rack being so low off the ground; I am really tall, and sitting in my office chair trying to fix things in the cabinet was tedious. Sure, I could squat and do it, but I am old and my knees hurt. There was no way that was going to happen, hence my friend R putting the cabinet together2.
I decided to pick up an Echogear rack, 15U, where everything would be easy to fix and modify. But as you can see, the cables are… well, still bad.
 Closer look at the lab area of my old office
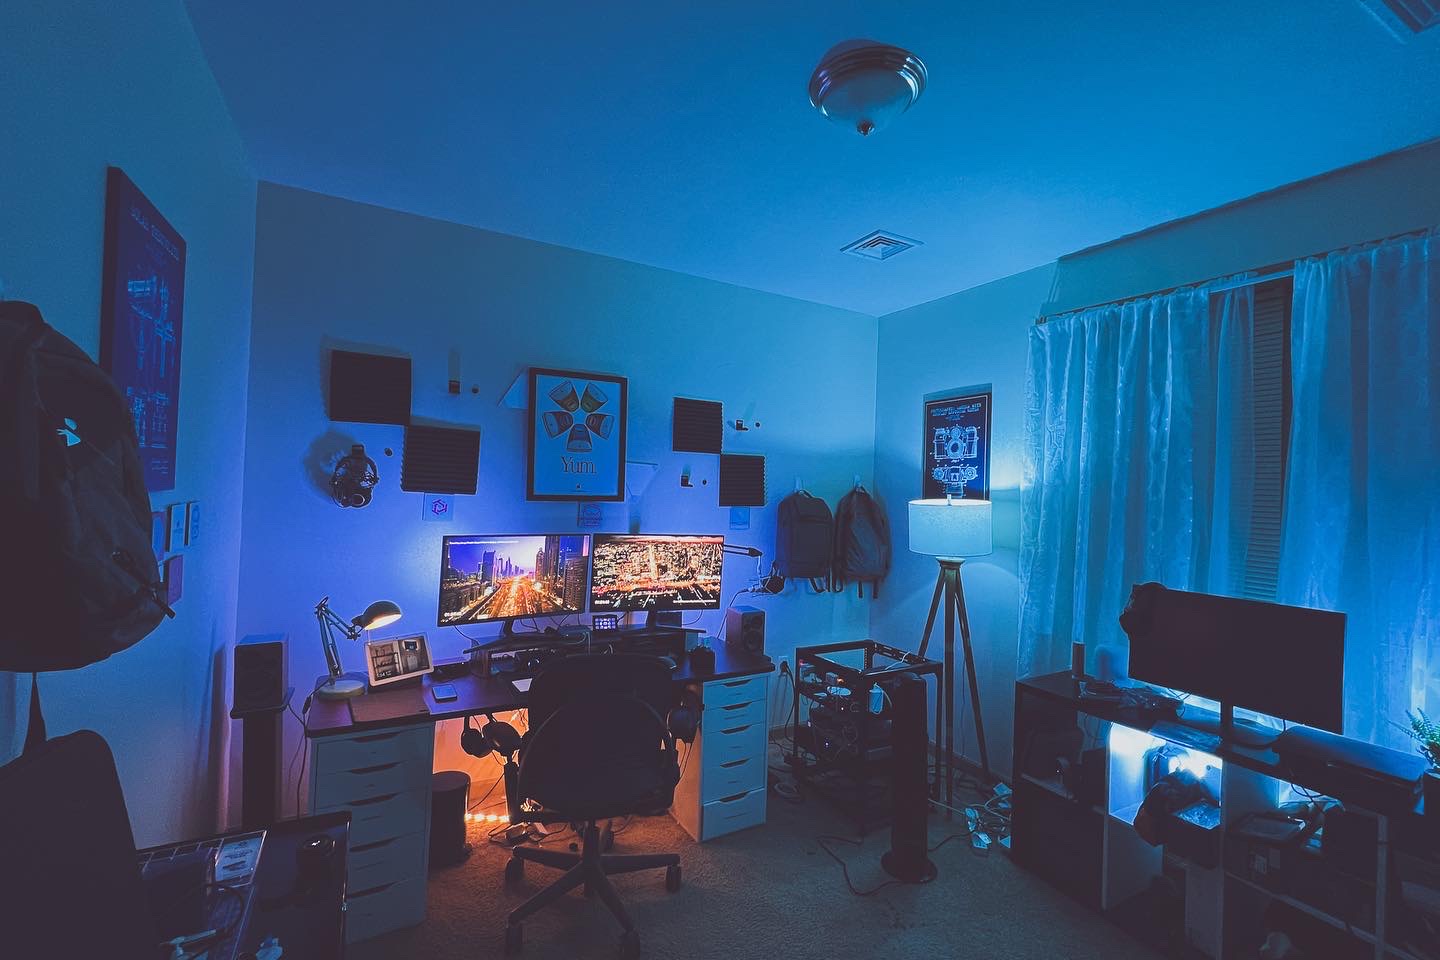 The whole office, in blue
The worst
Since I spun up that lab, life has gotten significantly worse, for me and for everyone in my industry. Inflation rising means there’s less VC cash being invested and burned on stupid novelties from small startups, and layoffs continue to happen. I was one of the unlucky ones.
It was bad because I’d just moved to a townhouse, hoping to have a garage lab, but the morning after I moved, after just 6 hours sleep, I shredded my quad being old and trying to get up from a very low position in an awkward way.
So now, I have a house, I am still working, but I cannot walk. At work we get another round of funding but the market is drying up for our product and the suits are skittish. The funding round was good but it wasn’t enough to keep everyone, and there were only three proper employees, the rest of the team were contractors. This meant, the software engineer that worked on the least important product (that was me), got the pink slip. My boss left too, it was hard, but I got through it.
This meant, however, that I’d need to rely on my savings and investments. It helped but my runway ran out, too, so I had to move again, and with inflation the way it is, I am now couch surfing with old family friends. Stuff happens, but I am in a warm, safe, place and can finally walk without limping.
In a room
My roommate allowed me to bring most of my gear along. I hastily threw it all together and it looks like it.
 This is an absolute abomination
But I’ve found the resolve to fix it, even though I am expecting to get my own place in the near future3.
Stripping, cutting, and putting headers on ethernet cables
Step one, before I even tear this thing down, is to make sure I have the appropriate length for each component’s ethernet cable. As you can see, the runs are all kind of different lengths and colors which makes it not only unappealing to look at but a PITA to fix things. Nothing is labled, different colors for different types of devices where things of different types should be grouped. NUCs not put in racks just on top of other NUCs and not labeled. Raspberry Pis dangling. And the whole rack is ass backwards so the switches are hard to reach. There are power bricks daisy chained on the CyberPower power strip and I don’t want that at all.
Several power bricks have different lengths and some of the bricks take up two or three outlets, meaning I need to daisy chain and add more and more power bricks. It isn’t ideal at all and I need to fix it. Pronto.
Tools of the trade
I bought an ethernet cutter/stripper kit to work with the cables. I will be purchasing a few spools of different colored cables and documenting which devices get which colors and what ports they are plugged into with Bookstack, my network documentation tool of choice.
(There’s a video on Bookstack coming soon. I’ll link it here once I finish editing it.)
 The stuff I’ve accumlated over the past 8 years is wild. Thanks Adafruit!
And more projects…
I have a whole host of Arduino and ESPHome boards I am going to be using to enhance my smart home4.
I am excited to:
- Clean up the rack
- Build cool stuff
- Move to my own place(!!!)
- Get my life back
One day at a time. One day at a time.
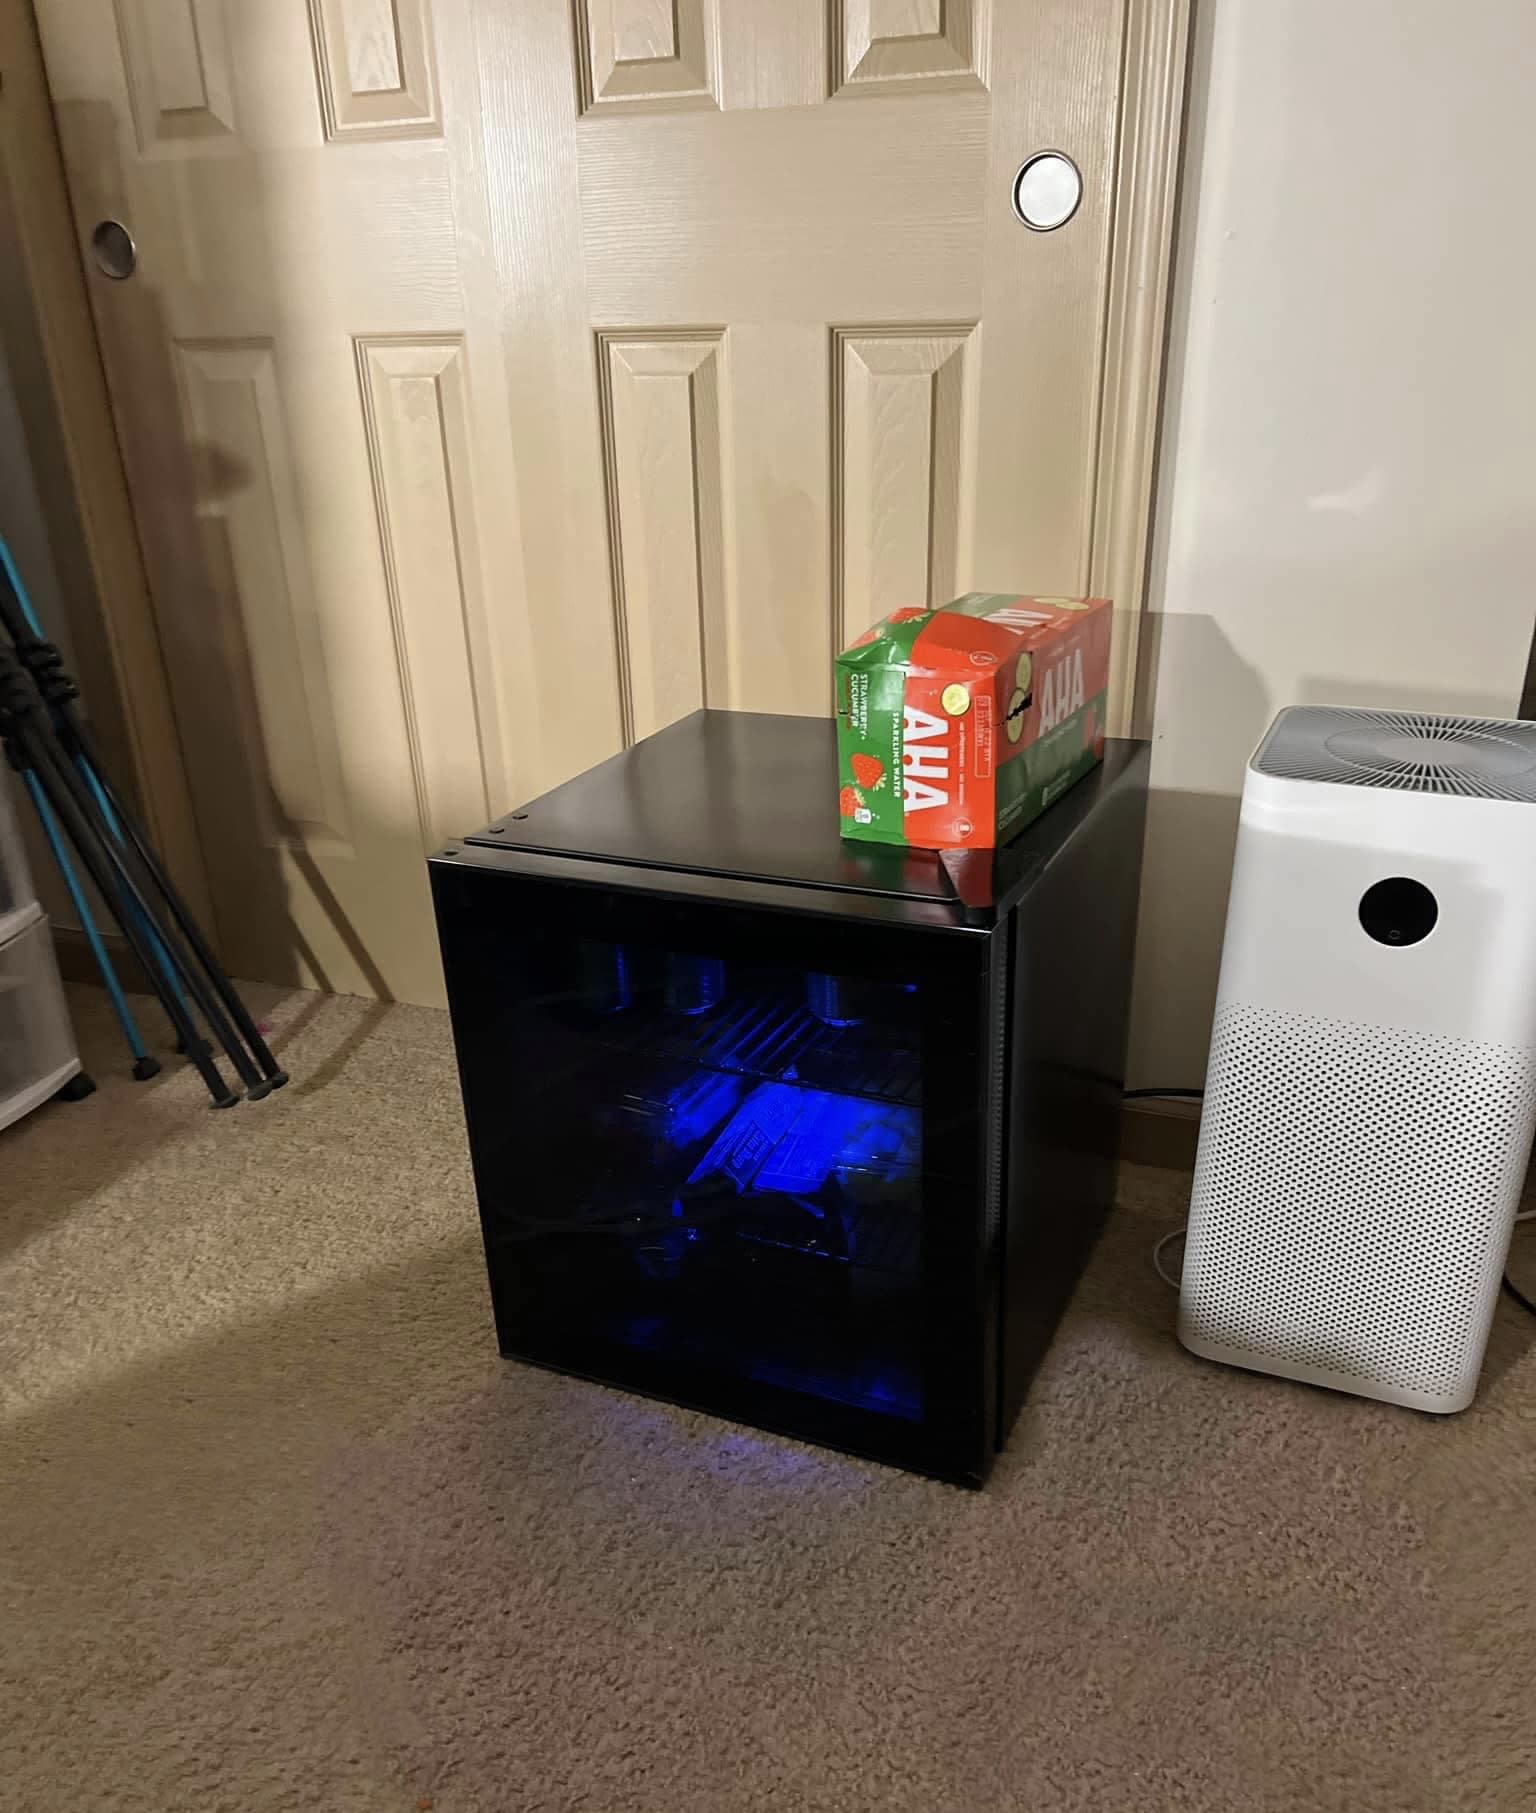 Always need a fridge full of fizzy water
Except where otherwise noted, the blog posts on this site are licensed under the Creative Commons Attribution-NonCommercial-NonDeriv 4.0 International (CC BY-NC-ND BY 4.0) License by the author.

At least to me. ↩
We also did a terrible job and installing the components, making this setup more difficult to work with than it needed to be. ↩
Even though I bought a 12U cabinet earlier this year, this is an eyesore and needs to be cleaned up. ↩
Because I am just in one room, the only thing I will do here is test each DIY device I build; the smarts don’t need to happen right now. ↩
